Technical user guide for UiB Learning Arena
How do I connect my computer and manage displays, microphones and speakers? Please read through our step-by-step description of how to use the audiovisual equipment in Storsalen and each of the seminar rooms in the UiB Learning Arena.

Main content
Technical user guide for Storsalen
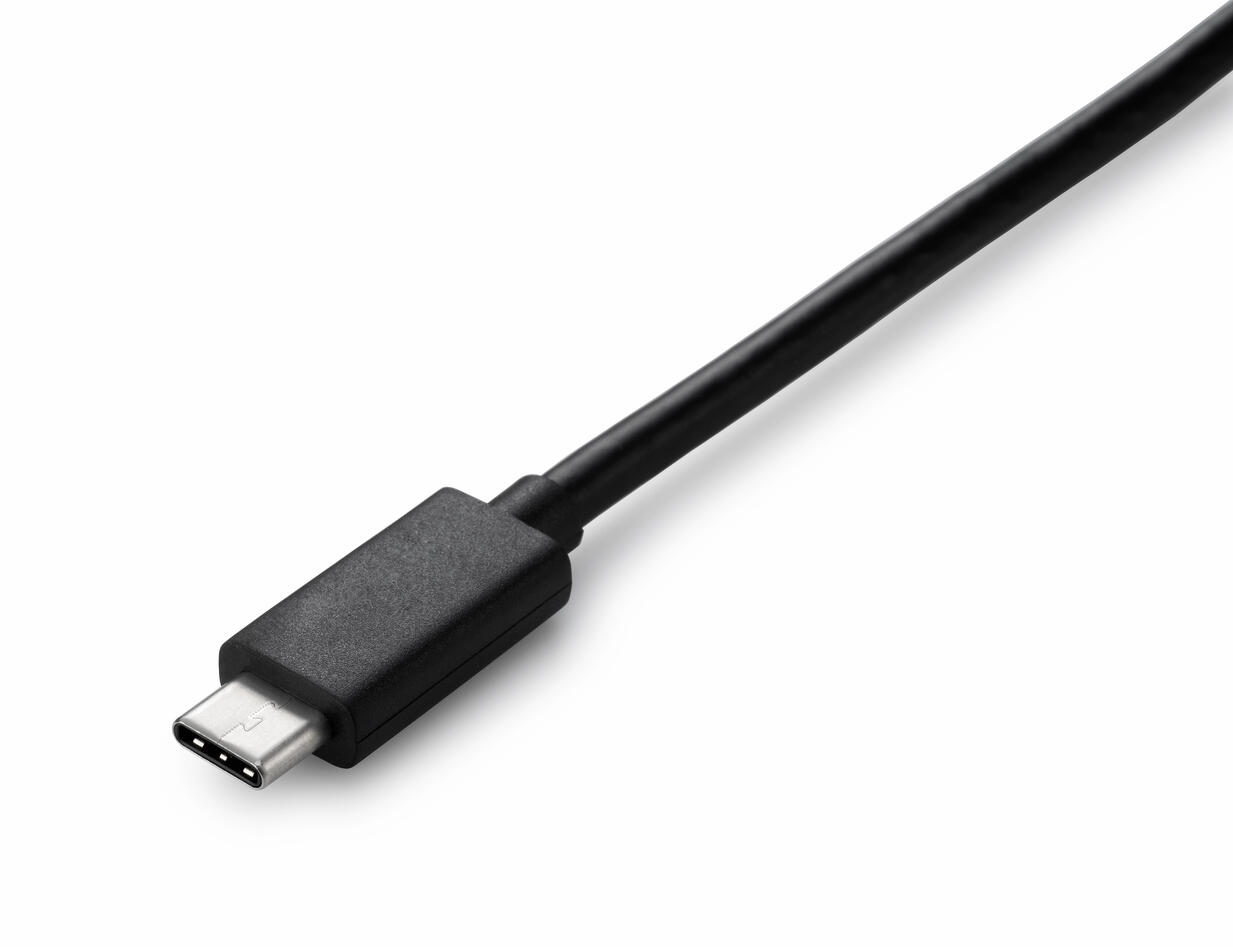
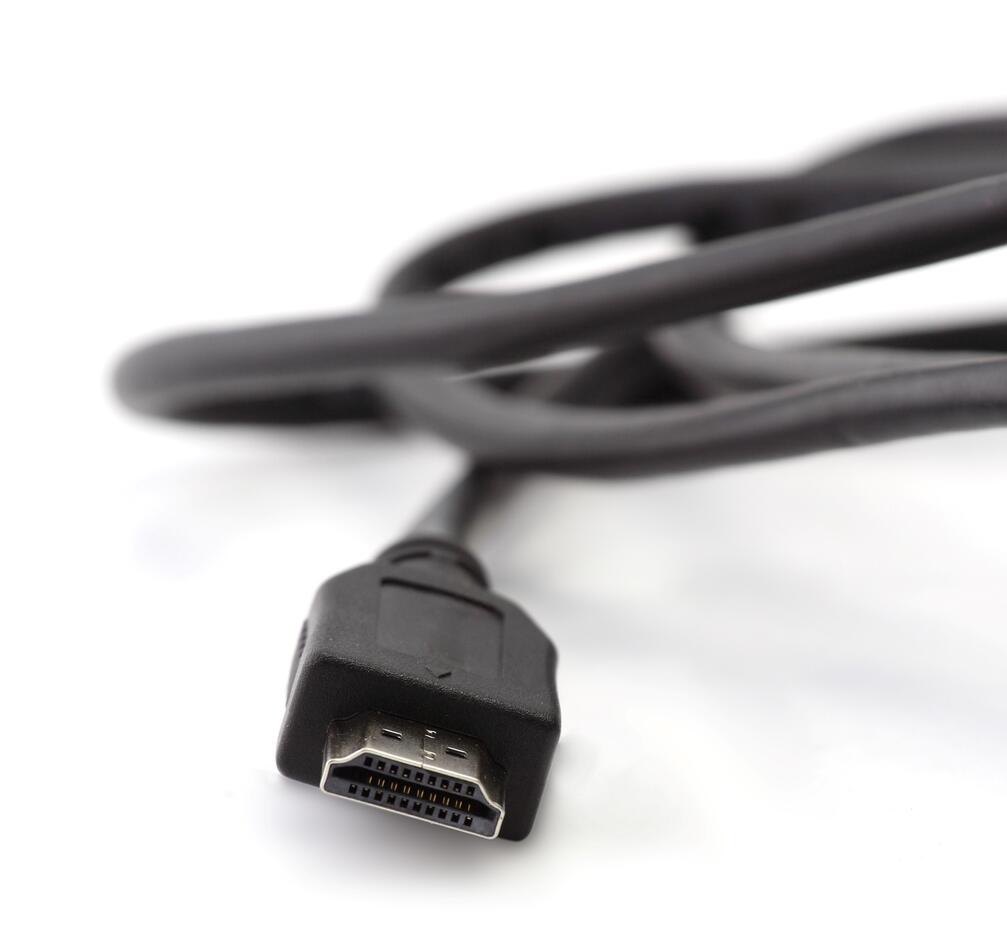
Storsalen is equipped with audio and video systems that you control yourself from the lectern on stage. You can display a presentation from your own laptop using either a USB‑C cable or HDMI.
Please note that an HDMI connection does not give you access to the in-room camera, which is required if you are using Teams/Zoom. In that case, you must use the USB‑C connection.After you have connected and the image appears on the screen, check your computer’s audio settings to ensure the audio output is set to “Dante” or “Crestron.”
The control panel on the lectern allows you to manage the presentation display, the audio for the gooseneck microphone mounted on the lectern, the lighting in the hall, and the camera located on the back wall. You can also play a prerecorded safety announcement for the audience. To begin, tap the control panel on the lectern.
The welcome screen presents an overview of the equipment in the room. Press “I have read the information above, start system.” This will take you to the control menus. At the bottom of the screen, you can choose between four submenus:
Vise presentasjon (show presentation)
Projector
Here you can start displaying content from your computer onto the screen on stage. Press "Start presentasjon" to send the image, and make sure your computer is connected to the cable in the floor box at the lectern. Settings for how your computer displays the image (duplicate or extended screen) must be adjusted on the computer. You can also turn the stage lights on and off from this menu.
Lectern
Here you can turn the gooseneck microphone on and off.
Safety Information
Press the green button to play the safety announcement over the room’s speakers. This is mandatory for events held in Storsalen.
Styre kamera (camera control)
If you are hosting participants via Teams/Zoom and need to show the entire hall, you can control the camera mounted on the back wall from this menu. Use the buttons on the left to zoom in and out, and use the directional pad (“the cross”) to pan and tilt the camera. The “Speed” setting adjusts how sensitive each control is.(Note: The “Position” setting is not in use.)
Romkontroll (lightning control)
Here you can choose between different lighting settings for the room.
Wireless Microphones
The microphones in the room activate automatically when you remove them from the charging dock on the lectern. It takes a few seconds from the moment you take them out until they are fully active. Remember to check that the mute button is not enabled when you are speaking.
Please remember to shut down the system using the “Avslutt” button and return the microphones to the charging dock when you are finished. Make sure each microphone is properly placed in the dock (the charging indicator light will turn on).
Technical user guide for the seminar rooms
There is no computer installed in the rooms; as the organizer, you must bring your own device.
Each room is equipped with the necessary technology to support both physical and digital meetings.
See the tabs for detailed information about each room.
Søndre Allmenning 1
Connect your laptop using the USB‑C cable located at the lectern.
The screens and projector will start automatically after you log in to your computer.The USB‑C cable charges your laptop and provides both audio and video connection. Remember to select the correct input and output sources on your laptop for audio and camera.
You can control the camera positions from the touch control panel located at the lectern.
Correct sources:
- Audio out (speakers): TESIRA
- Audio in (microphone): TESIRA
- Camera: AVer CAM
There are three wireless microphones at the lectern: two headset microphones and one handheld microphone.It takes a few seconds from when you remove them from the charging dock until they are active. Remember to check that the mute button is not enabled before speaking.
When finished:
- Make sure each microphone is properly placed back in the charging dock (the charging indicator will light up).
- The equipment will automatically power down when disconnected.
- The projector screen will retract automatically after approximately 5 minutes.
Søndre Allmenning 2
Connect your laptop using the USB‑C cable located at the lectern.
The screen will start automatically after you log in to your computer.The USB‑C cable charges your laptop and provides both audio and video connection. Remember to select the correct input and output sources on your laptop for audio and camera.
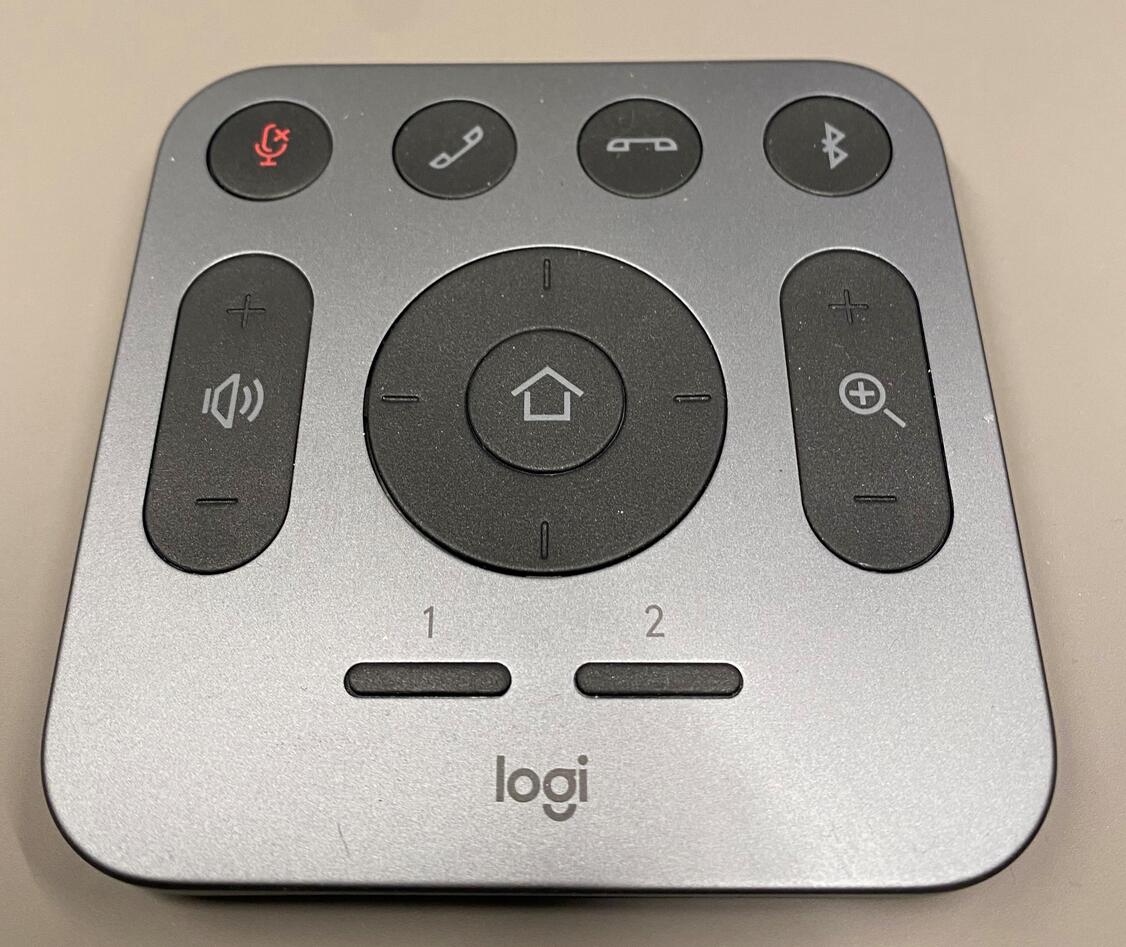
You can control the camera positions using the remote control available in the room.
Correct sources:
- Audio out (speakers): Logi Rally
- Audio in (microphone): Logi Rally
- Camera: Logi Rally
When finished:
The equipment will automatically power down when disconnected.
Nordre Allmenning 3
Connect your laptop using the USB‑C cable located at the lectern.
The screens will start automatically after you log in to your computer.The USB‑C cable charges your laptop and provides both audio and video connection. Remember to select the correct input and output sources on your laptop for audio and camera.
You can control the camera positions from the touch control panel located at the lectern.
Correct sources:
- Audio out (speakers): TESIRA
- Audio in (microphone): TESIRA
- Camera: AVer CAM
When finished:
The equipment will automatically power down when disconnected.
Nordre Allmenning 4
The room has two cables:
- HDMI for video and audio output
- USB for camera and Teams/Zoom microphoneNote: These cables do not charge your laptop.
To display an image on the screen, connect your laptop using the HDMI cable (or use a USB‑C adapter) located beneath the screen with the camera.The screen will start automatically after you log in to your computer.
The USB cable only provides access to the camera and the Teams/Zoom microphone.Remember to select the correct input and output sources on your laptop for audio and camera.
You can control the camera positions using the remote control available in the room.
Correct sources:
- Audio out (speakers): EDIIG0216
- Audio in (microphone): Logitech
- Camera: Logitech MeetUp
When finished:
The equipment will automatically power down when disconnected.
Nordre Allmenning 5
The room has two cables:
- HDMI for video and audio output
- USB for camera and Teams/Zoom microphoneNote: These cables do not charge your laptop.
To display an image on the screen, connect your laptop using the HDMI cable (or use a USB‑C adapter) located beneath the screen with the camera.The screen will start automatically after you log in to your computer.
The USB cable only provides access to the camera and the Teams/Zoom microphone.Remember to select the correct input and output sources on your laptop for audio and camera.
You can control the camera positions using the remote control available in the room.
Correct sources:
- Audio out (speakers): EDIIG0216
- Audio in (microphone): Logitech
- Camera: Logitech MeetUp
When finished:
The equipment will automatically power down when disconnected.
FAQ
If you experience connection issues, you can contact BRITA (technical user support) directly at +47 55 58 47 00(Monday–Friday between 08:00 and 15:45).